Setup of a Monitoring Station
From a practical, logistical point of view one distinguishes between two types of seismological observation stations: permanent (or long-term) installations and temporary (short or medium-term campaign) measurements. The ways and reasons for installing one or the other type of station vary between these two categories.
Station SBUB

The primary goal of permanent stations is to monitor seismicity, the activity of earthquakes with time. Therefore the longer we measure, the more we know about the behaviour of the underground.
Two kinds of sensors are used at seismic stations:
- Broadband sensors that are designed to detect even the smallest ground vibrations from very small nearby earthquakes (magnitude M<1) as well as regional and teleseismic (distant) events. Earthquakes of Magnitude 5 and more can even be recorded from the other side of the globe.
- Strong motion sensors (“accelerometers”) record strong ground motion from nearby large earthquakes.
In Switzerland, the SED operates about 45 broadband stations located at remote and quiet sites with little background noise. The approximately 60 strong motion stations are mostly placed within cities in order to characterise the motions in the areas of high risk from rare large earthquakes. More on this as well as on the SED’s permanent networks can be read here.
The locations of the permanent stations are chosen from a scientific point of view. It is not only important to place a station close to the expected region of seismicity; it is at least as important to construct a network of stations that covers well the sources of seismicity, from all directions. Earthquakes can only be accurately located if they are recorded by many stations, some close to the epicentre, with good distribution in all directions.
Watch a short film showing the installation of a seismic station at the Mont Terri Rock Laboratory by the Swiss Seismological Service in early 2014:

Follow the construction of a permanent seismic station on the Lauchernalp (Lötschental) in the picture gallery:
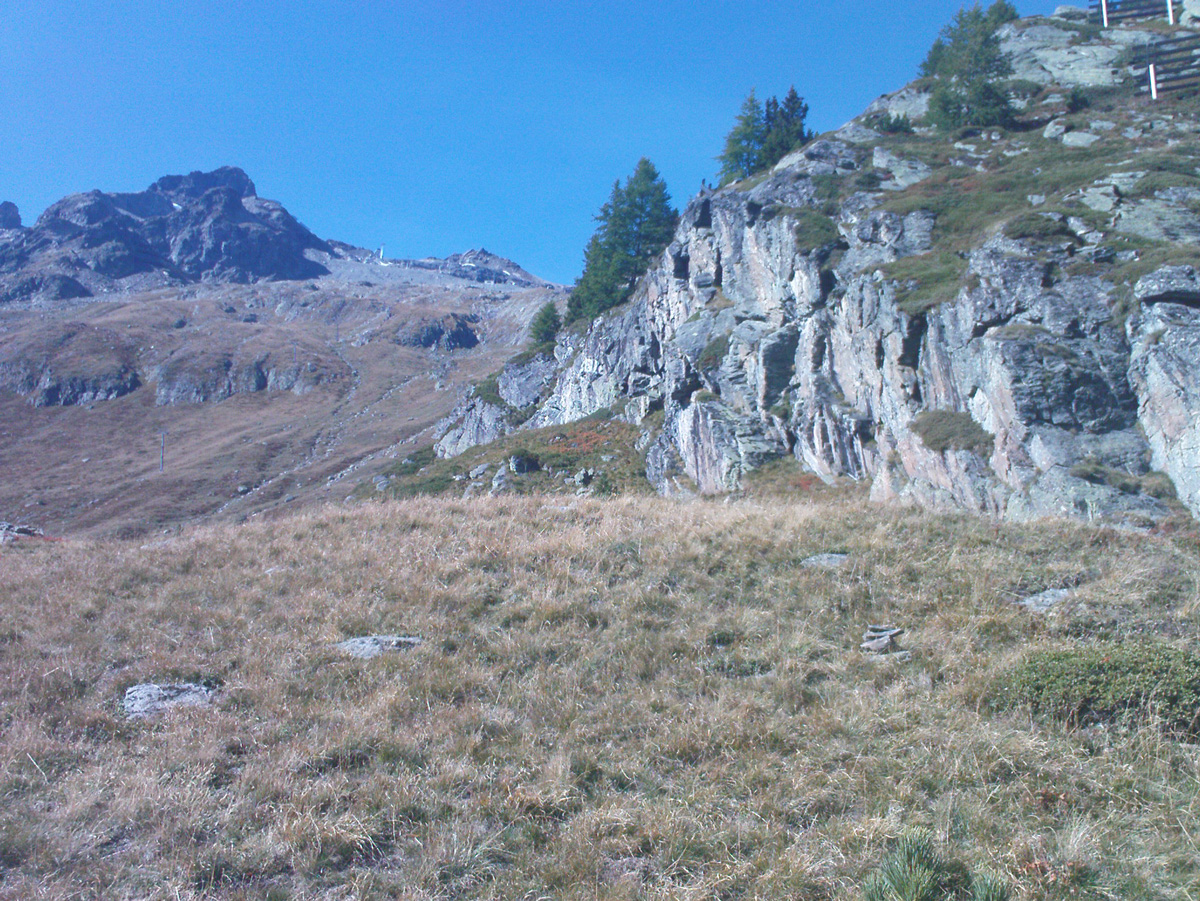
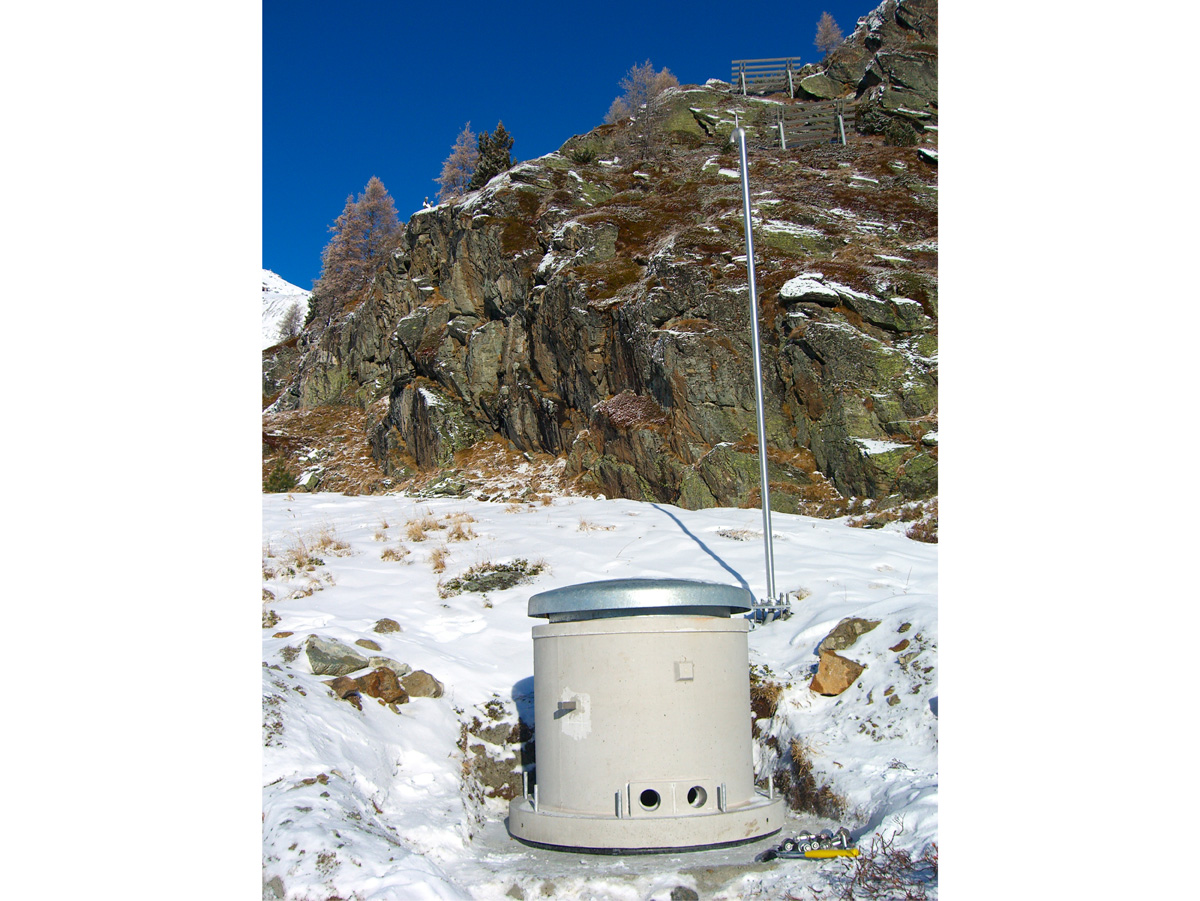
Once the target zone is chosen, staff in charge of the network make a series of test measurements at different potential sites to decide which is the quietest. It is obvious that sites near roads, villages and railways suffer more from background noise than sites away from civilization. The lower the background noise, the smaller earthquakes can be recorded. This picture shows the location of the permanent broadband station LAUCH before the installation. The station LAUCH is situated near Lauchernalp, above 2000 m altitude in the Lötschental. Its primary role is to monitor earthquakes in the Valais, one of the seismically most active regions in Switzerland.
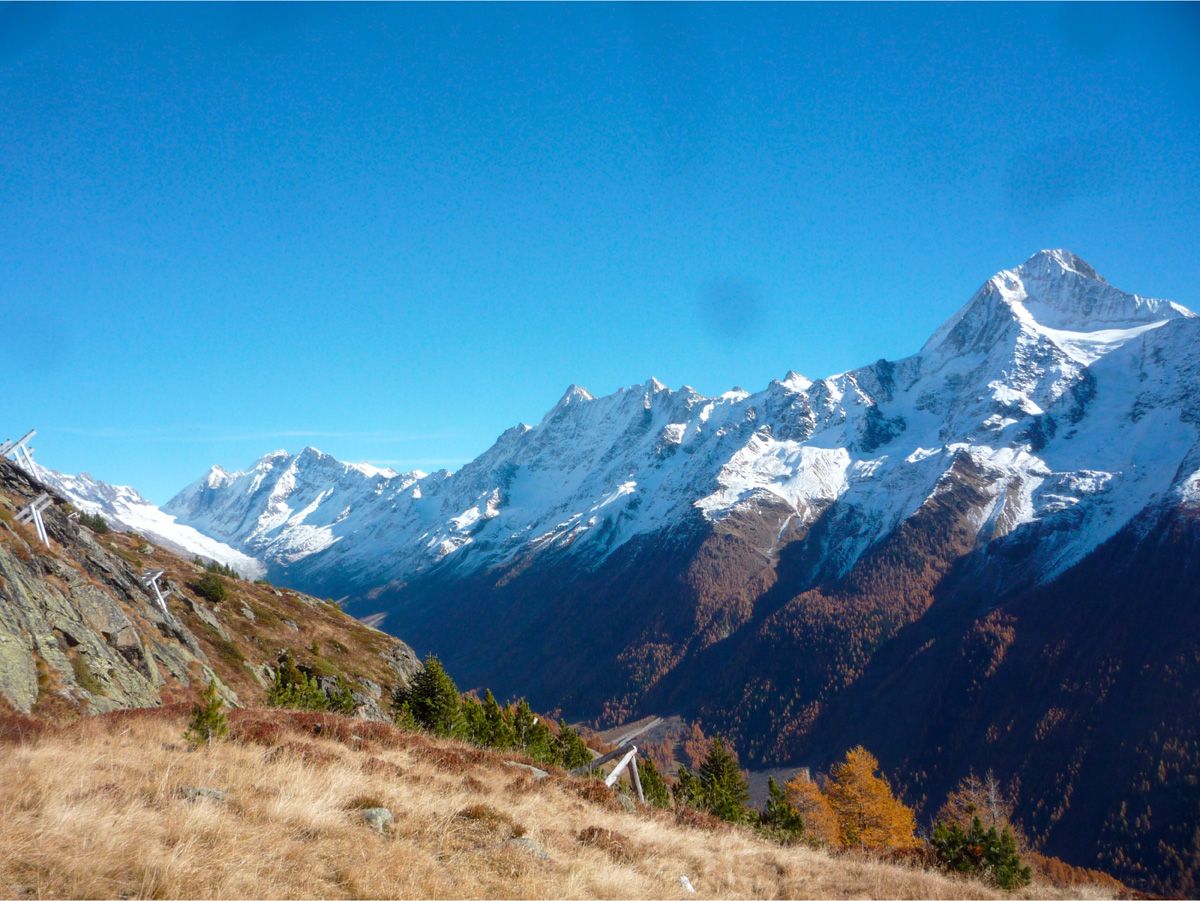
The final site selection does not only depend on the background noise level but also on other questions: How easy it is to obtain permits? How complex and costly it is to build the site? How can one ensure continuous and reliable power and real-time communications? All factors are taken together and discussed by seismologists and technicians to decide for the best site. View from the site of station LAUCH towards the SE into the Lötschental. The prominent peak is Bietschhorn (3934 m).
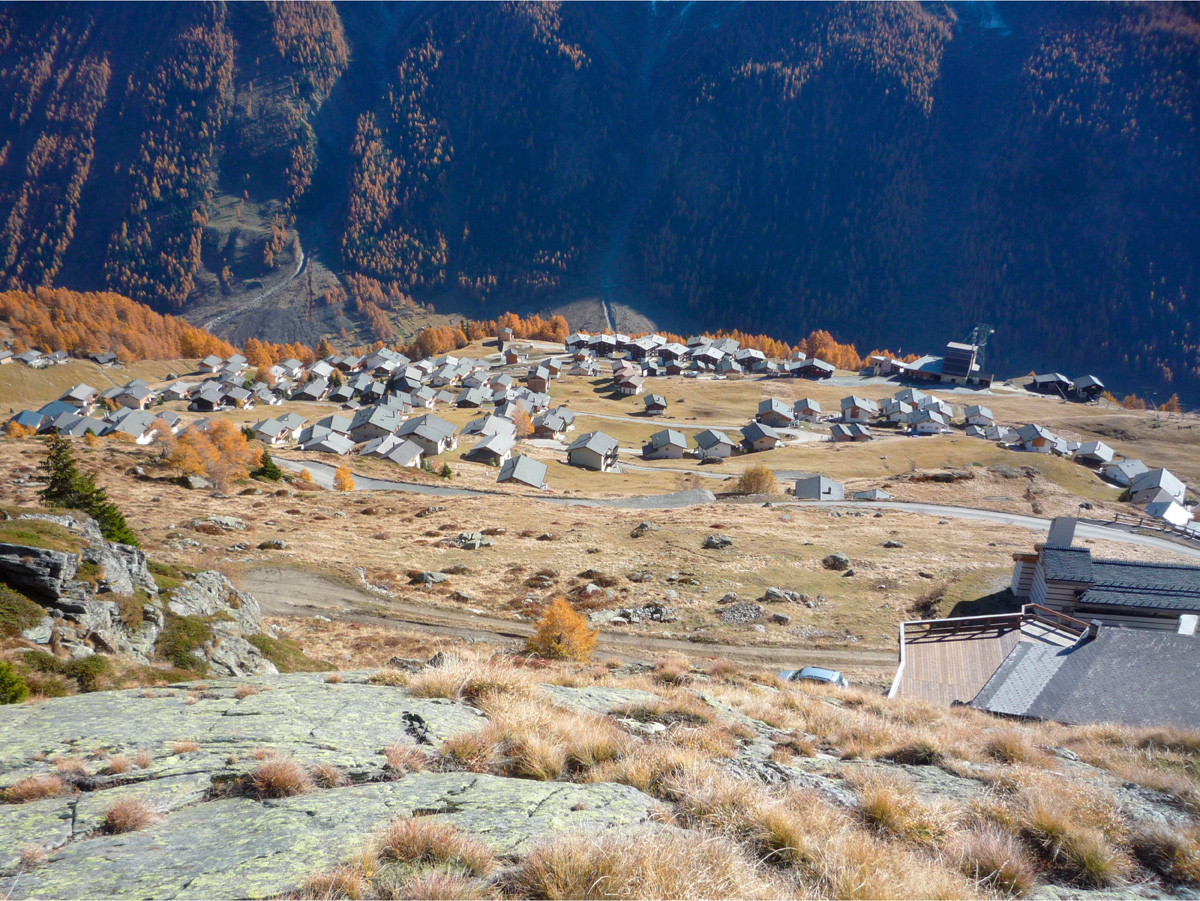
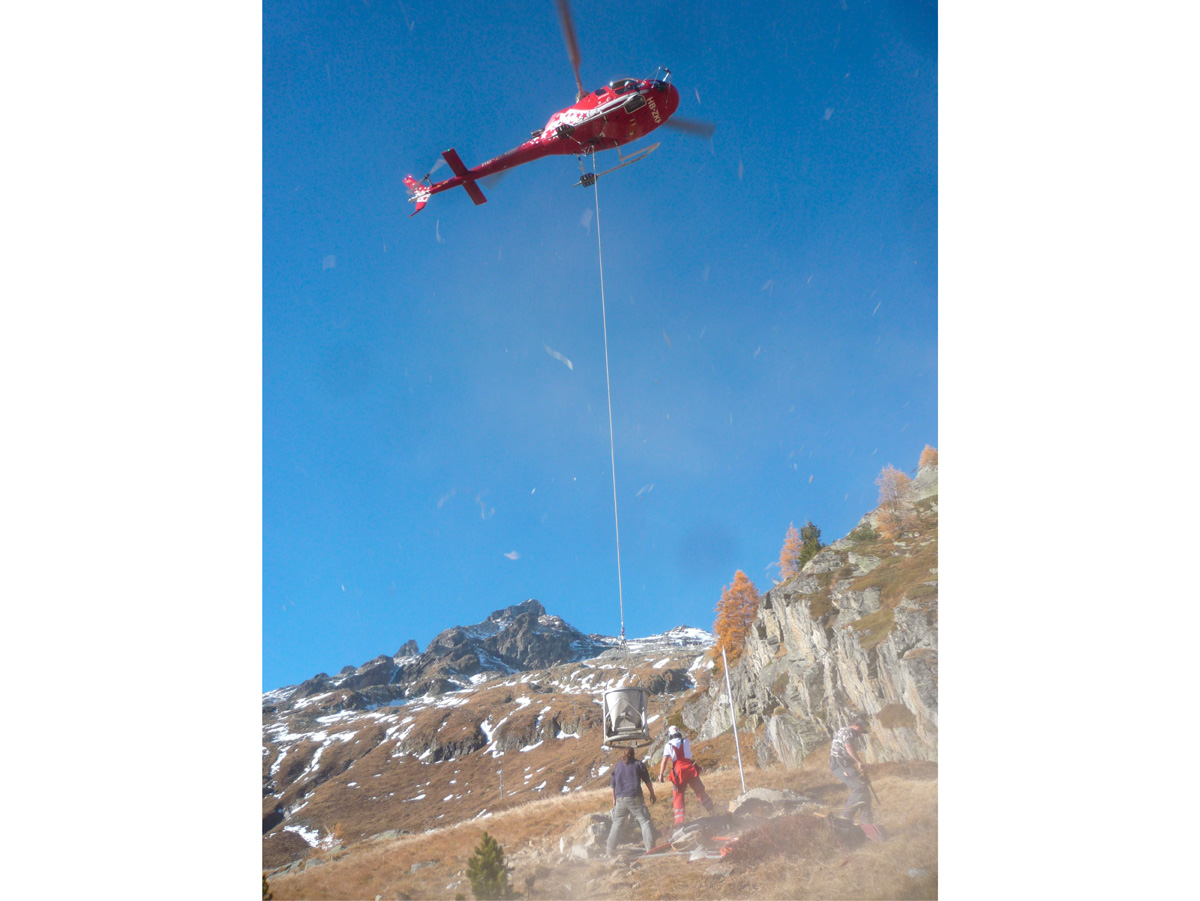
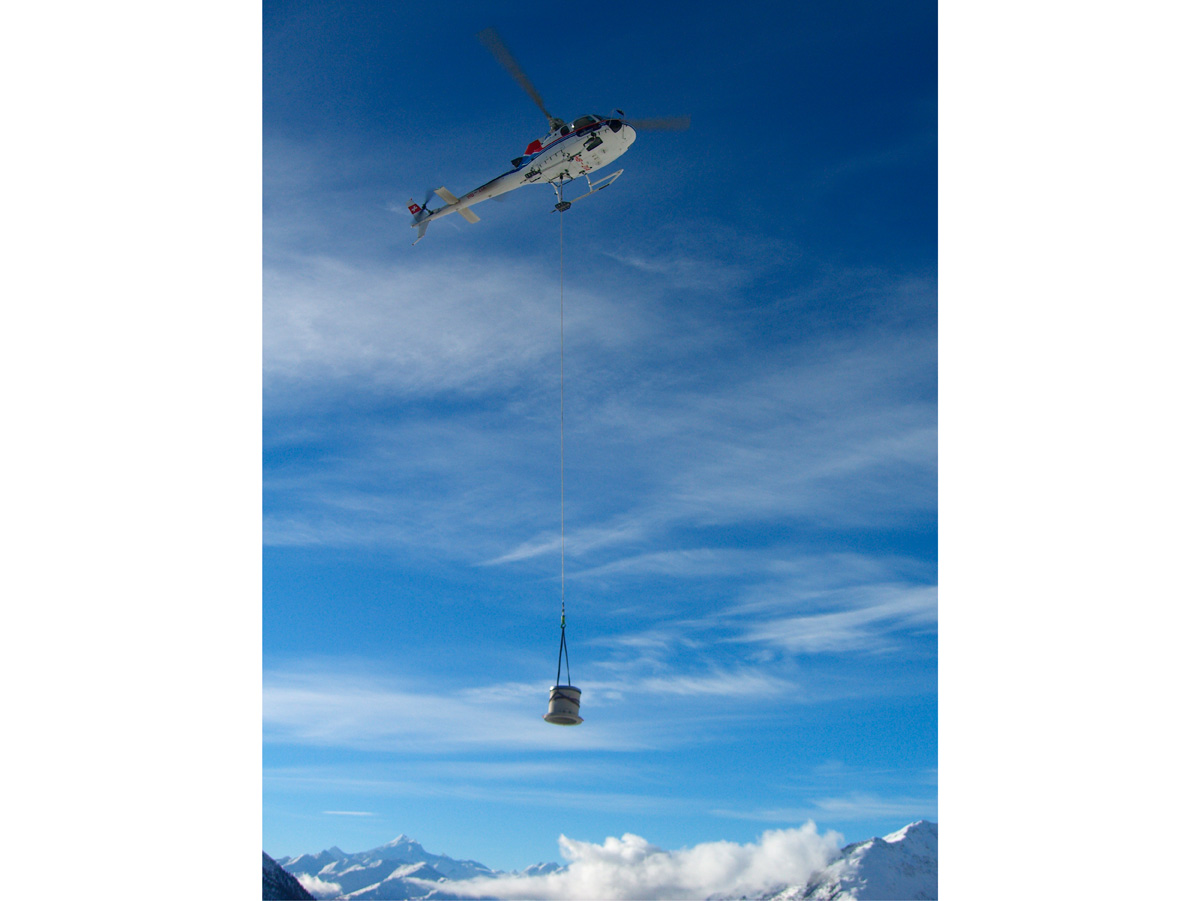
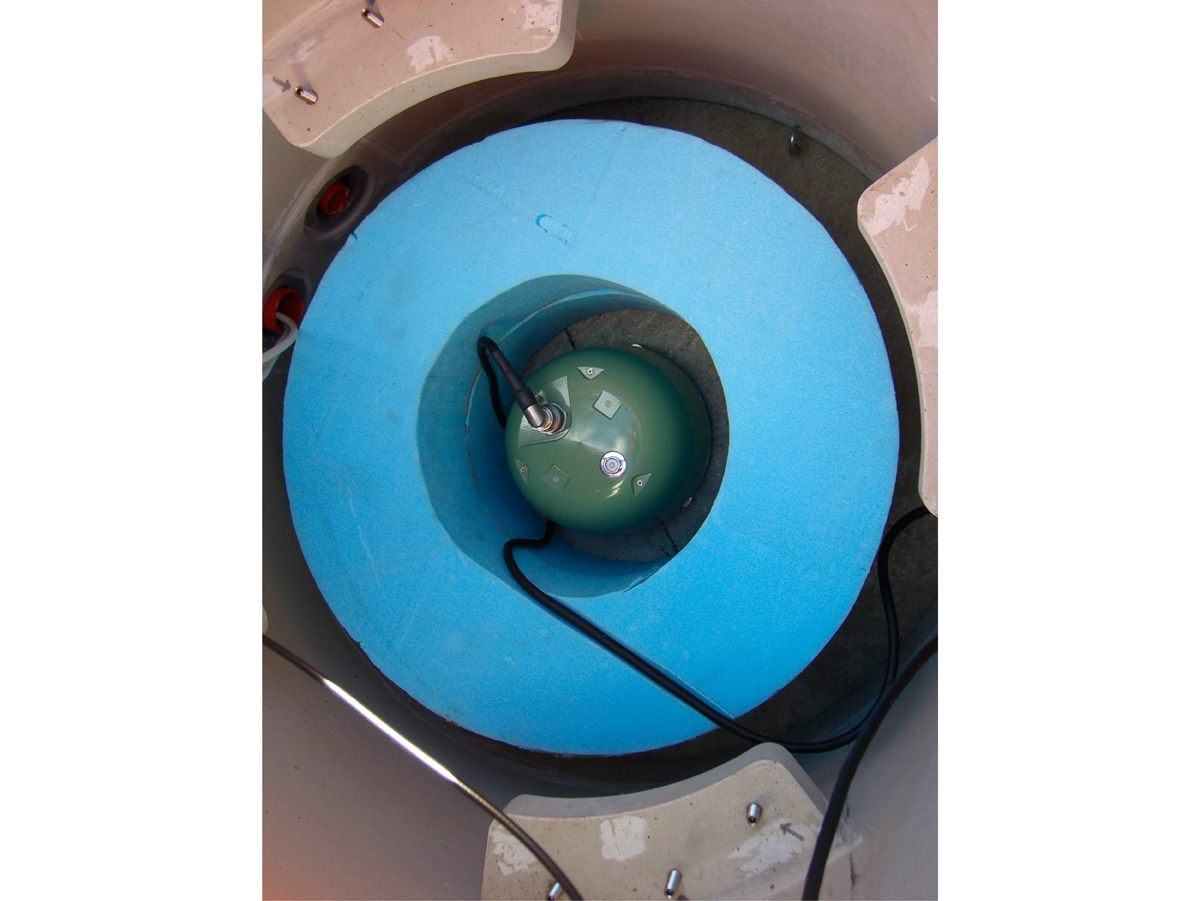
Different solutions are needed for an installation in an abandoned building, a newly dug vault, or a cave or bunker. For a good mechanical coupling of the seismometer to the ground a cement foundation is almost always poured. The necessary cables for power and communications are added. Appropriate insulation (mainly thermal) and protection is built. The entire construction can take several days to a few weeks. The site of station LAUCH lies outside but not too far from the village. A power cable and internet connection can be extended to the site, and transportation costs – even if a helicopter has to bring heavy material up from the village – remain reasonable.
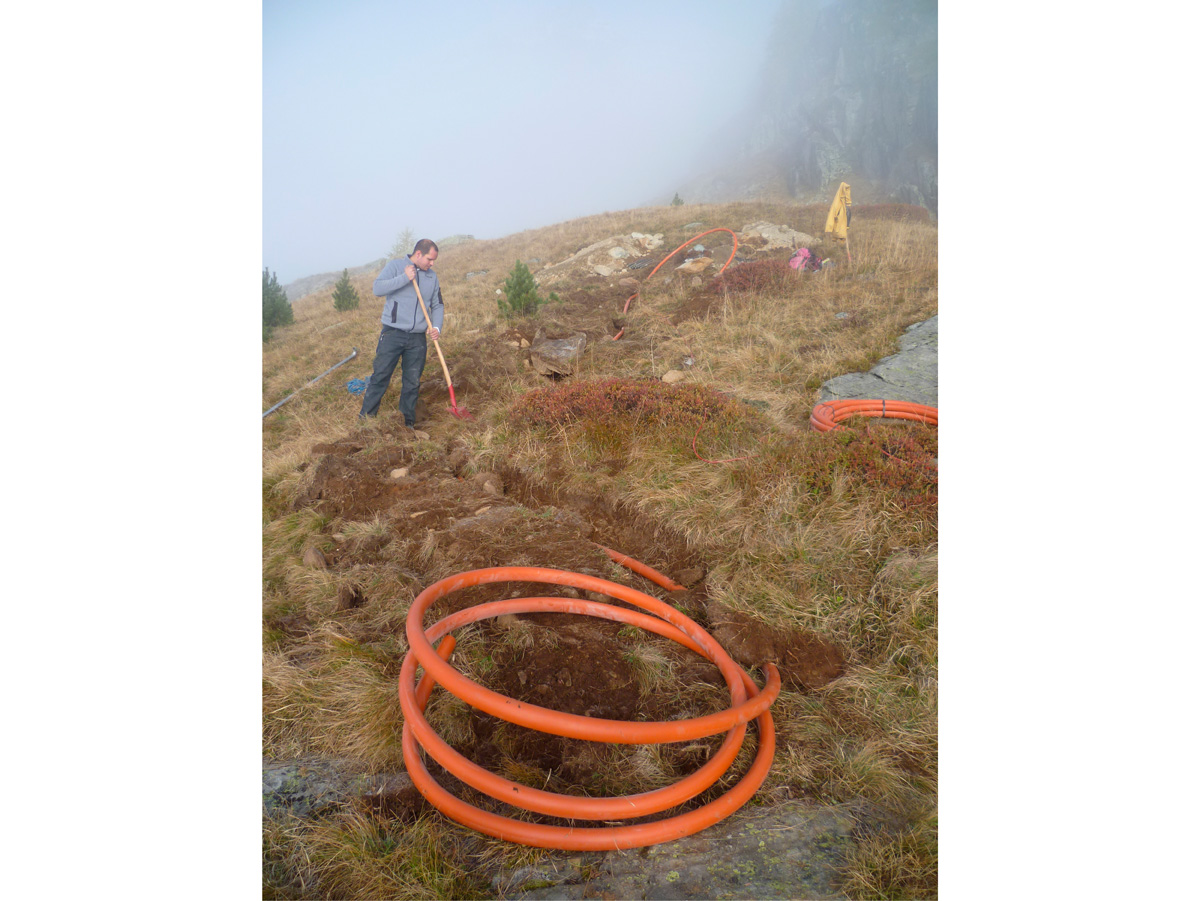
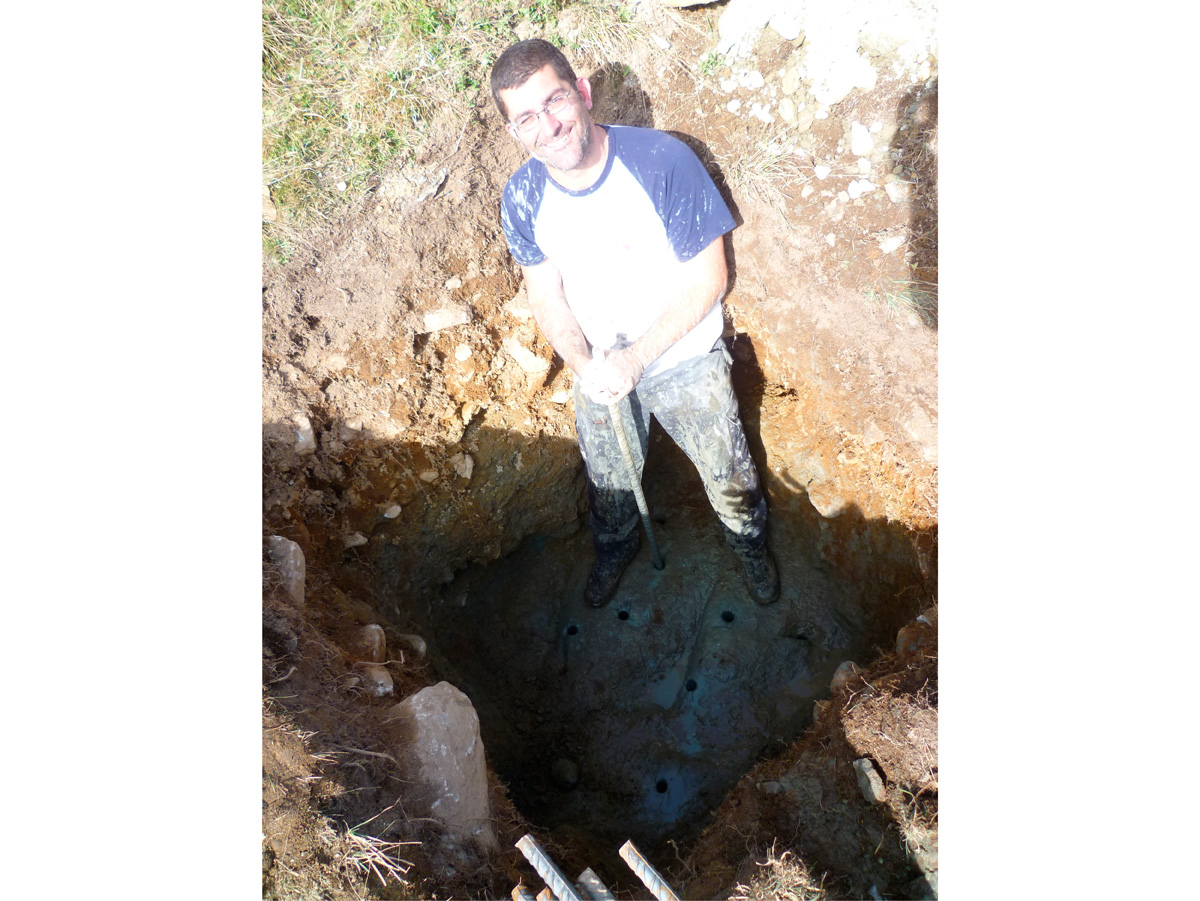
Hard work in the morning fog
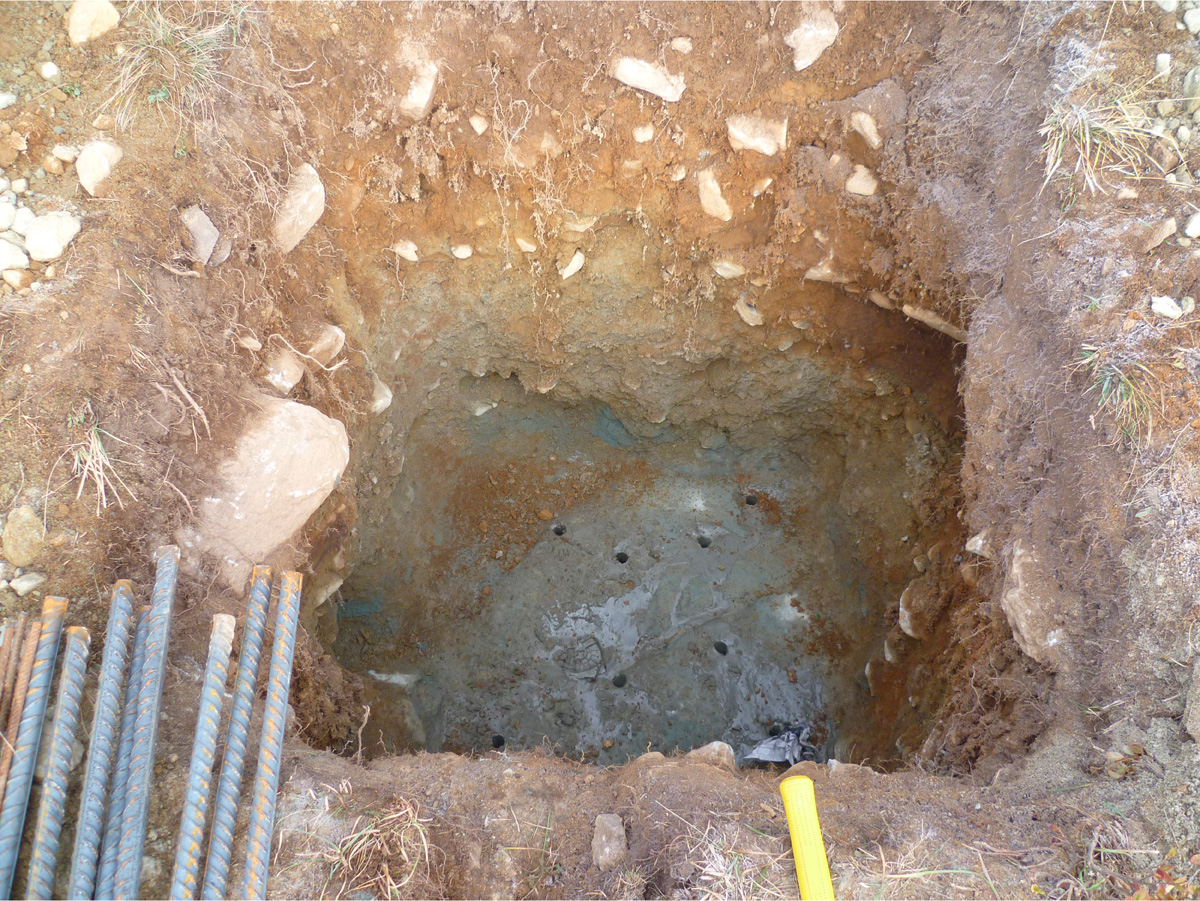
Several holes are drilled in which metal rods will be placed (next figure) as anchors to ensure better mechanical connection to the foundation.
Metal bars are inserted as anchors to ensure the stability of the foundation and its tight connection to the rock.
The pole in the background holds the GPS antenna and also serves as lightning protection.
In parallel the data centre at the Swiss Seismological Service prepares the integration of the new station in the earthquake monitoring system, internet connection is secured, data transmission and storage are tested. Finally the station is switched online and starts full operation, and begins to contribute to earthquake detection and location.
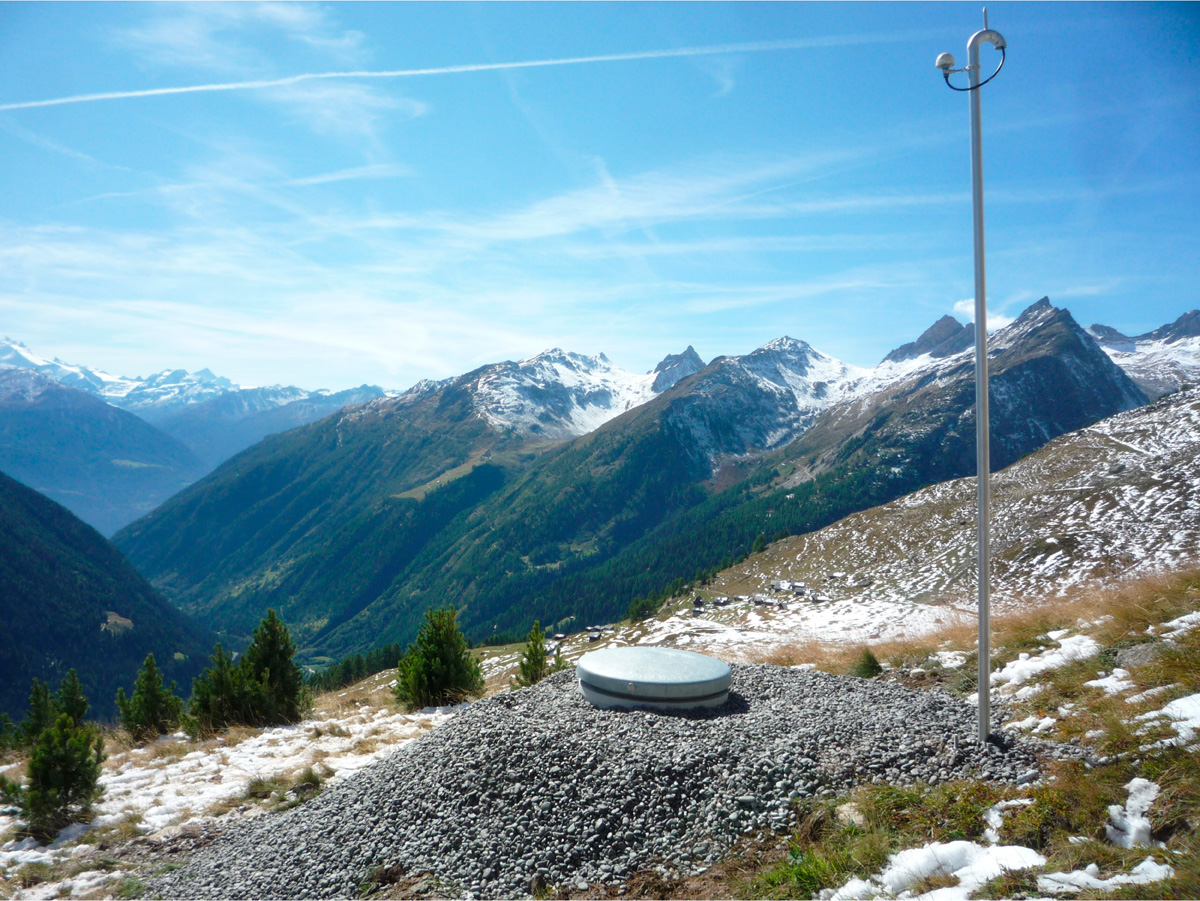
After a final load of gravel transported by helicopter has been dumped around the vault, the finished station overlooks the valley. The costs of a permanent stations installation are comparatively higher than those of a temporary station as the equipment is bought and left at the site. Site search costs can also be costly in terms of time spent on testing. Construction costs depend on the needed solutions and transportation means, but these are one-time costs – if everything works well, only communication costs need to be covered during operation. Maintenance costs per year amount to less than 10% of the installation costs.
Temporary stations are usually installed with a goal to be reached within a given time frame. This can vary on a wide range but is usually between a few hours and a few years. Typical scientific targets for temporary stations are the investigation of specific structures in the Earth, a particular earthquake sequence or other seismically detectable events (natural or man-made).
Follow the construction of a temporary seismic station in Bhutan in the picture gallery:

It is part of a seismic network to investigate the deep structure of the Himalayas.
The location behind a knoll in an apple orchard seemed to be ideal.

Typical locations for temporary stations are: existing houses (preferably uninhabited, or in the basement), sheds (existing or quickly constructed on the spot), vaults dug in the soil with a plastic cylinder as isolation, and any other practically sound solution one can invent and design.
The installation of the full station is done with the aim to last for the duration of the measurements and not longer; therefore it takes typically less than a day. Real-time or near real-time communications (mobile phone network, internet, satellite) are increasingly common, but many stations run in stand-alone mode and record data on memory disks only.
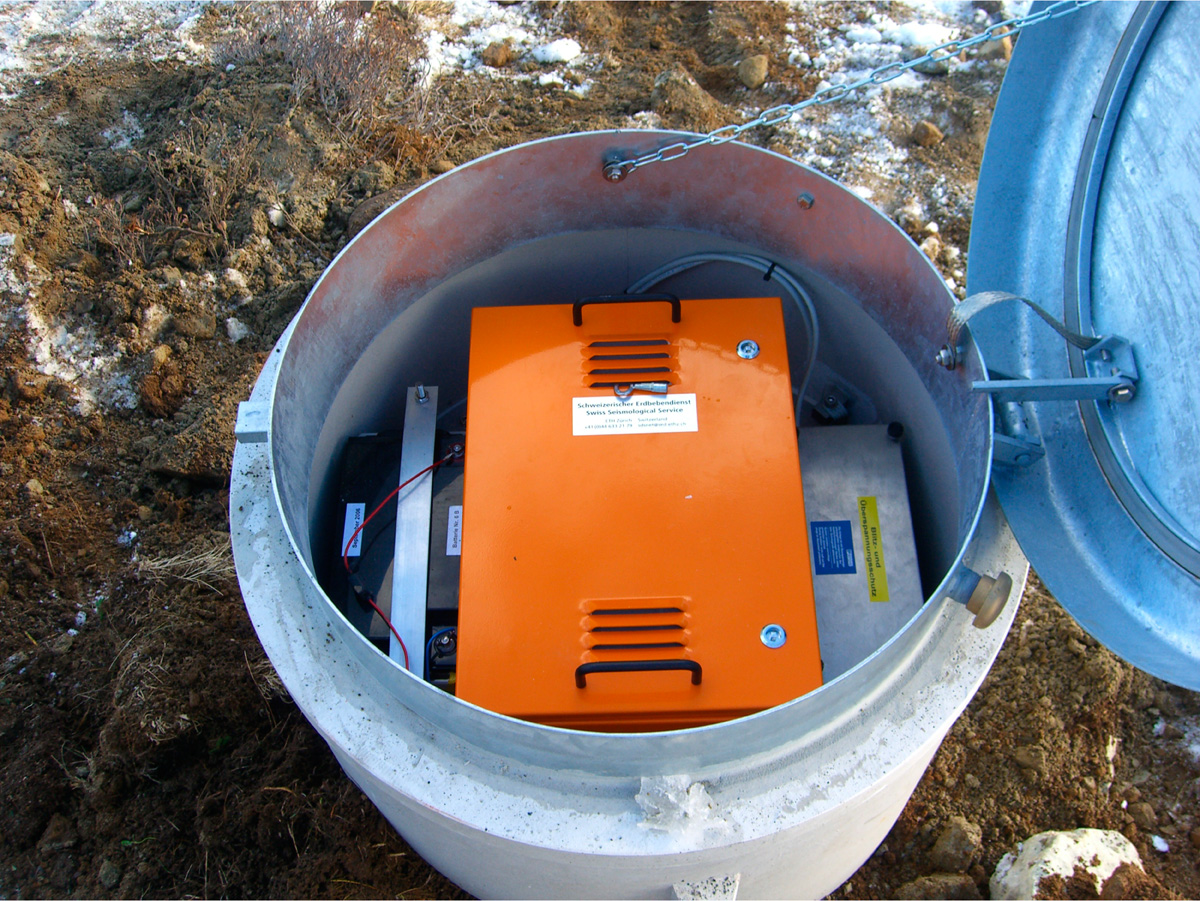
As soon as the new construction is solid the instruments are installed: seismometer, data acquisition system, battery (not yet connected), current controller. Further items not on the picture are the GPS antenna and the solar panel.
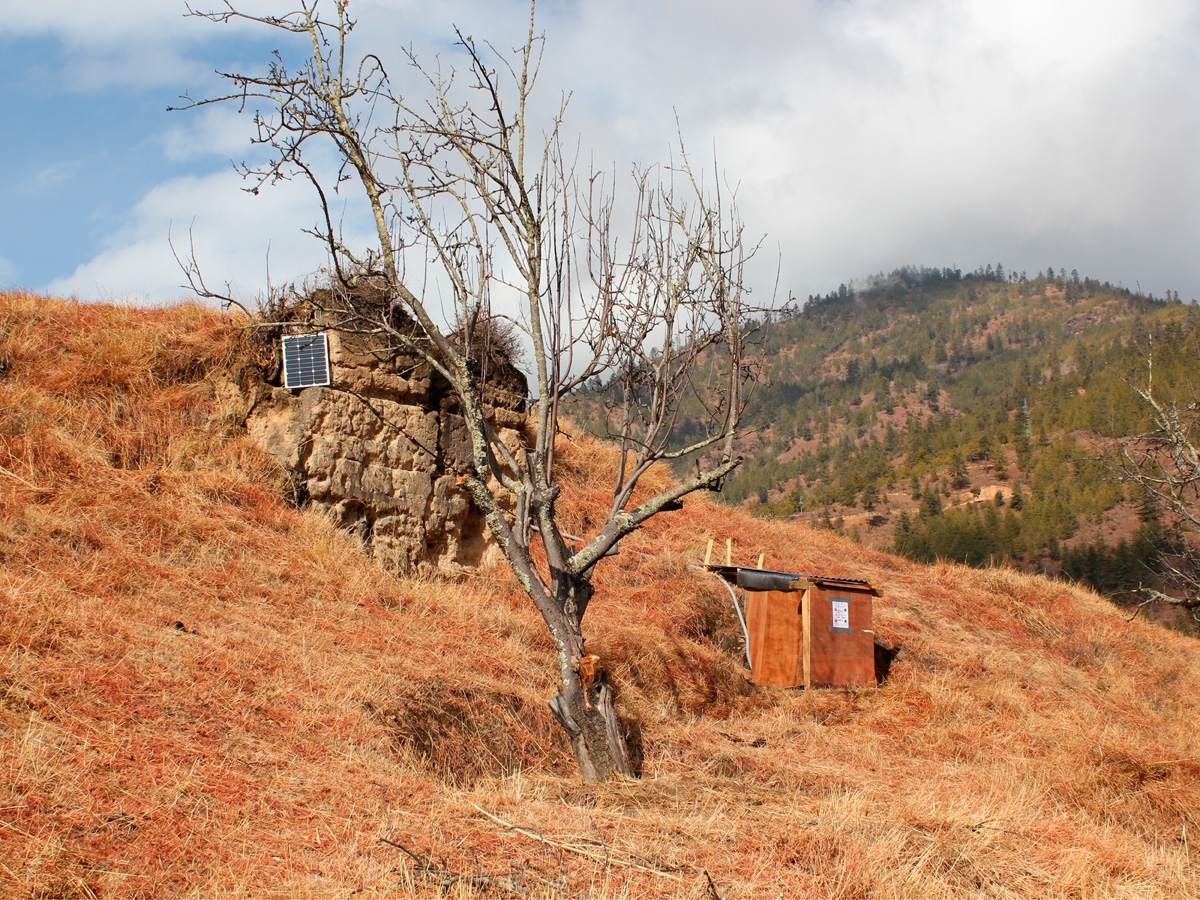
Instead a solar panel and a battery were installed. To save power no communication means were installed. The shed is then closed and left alone for months. The costs of a temporary station installation are less than those of a permanent station: the equipment does not stay at the site, and site search and installation costs are less. Communication costs can be more or less expensive. However, costs of shipping the equipment to a place and back, plus the costs of stations visits exceed those of maintenance of a permanent station.
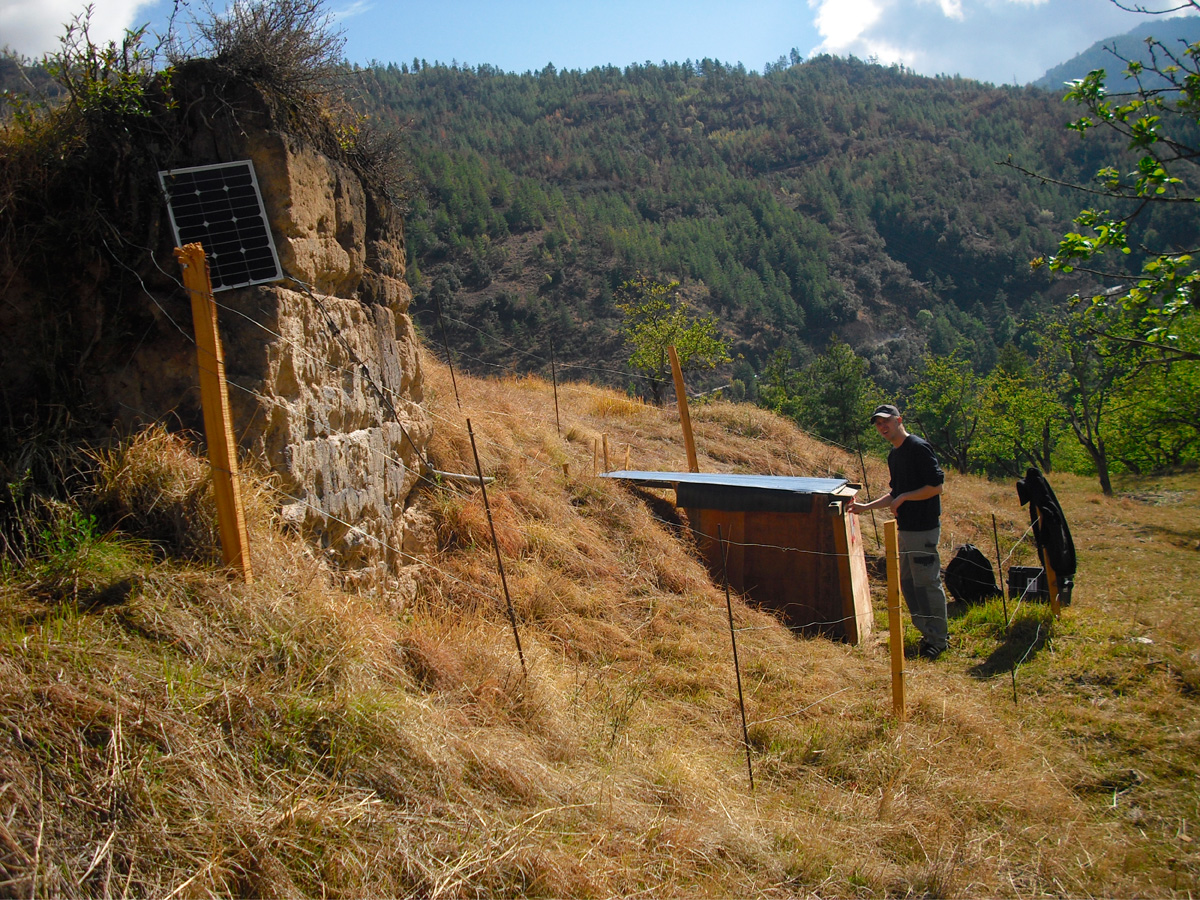
At the first maintenance visit, three months after installation, the station was in good condition and had recorded data all the time. A fence was erected to increase protection from animals. A second solar panel was added to ensure sufficient power during the cloudy Summer monsoon season.
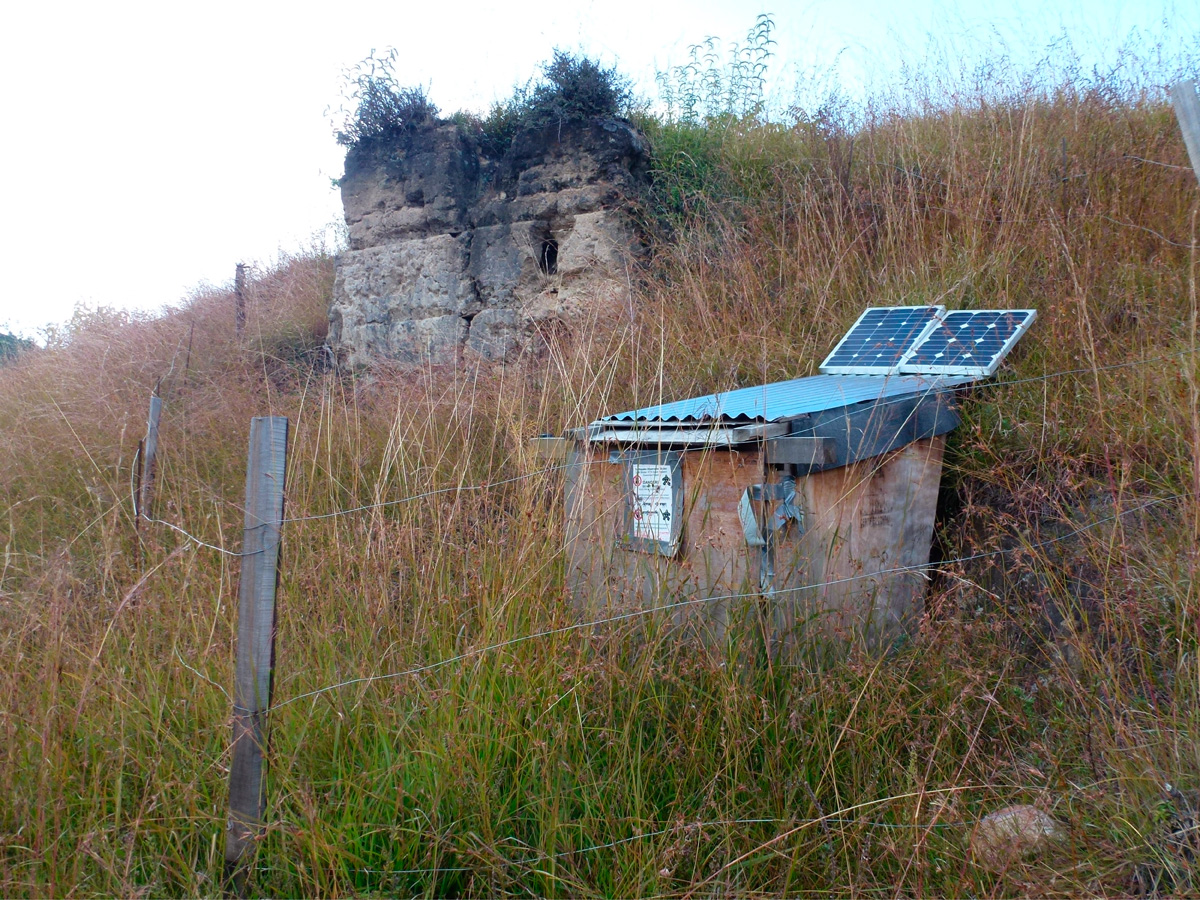
At the second maintenance visit, further six months later, the station was still in good condition, data recording rate was again perfect. Grass has grown high over the Summer.
This time-lapse video shows how a cement platform is prepared in the basement of a house:

This time-lapse movie illustrates the installation of two solar panels and their connection to the instruments located inside the building:
